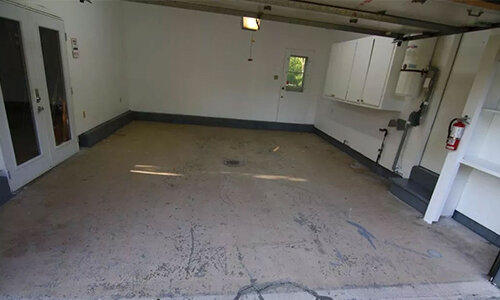
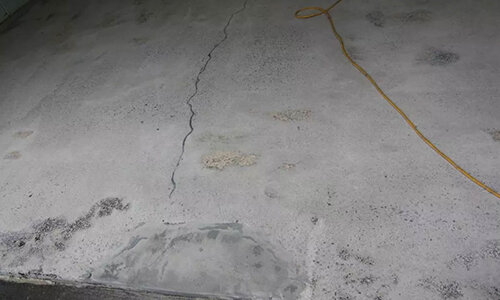
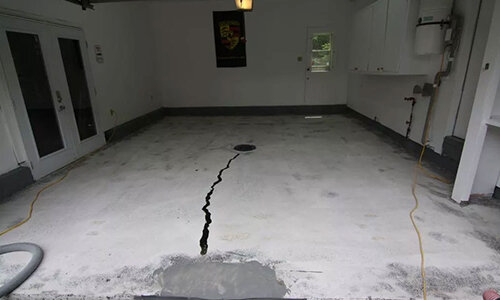
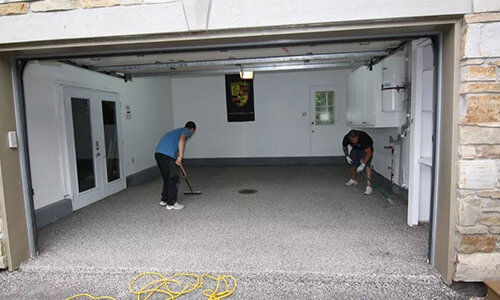
THE ZONE GARAGE FLOOR

Process

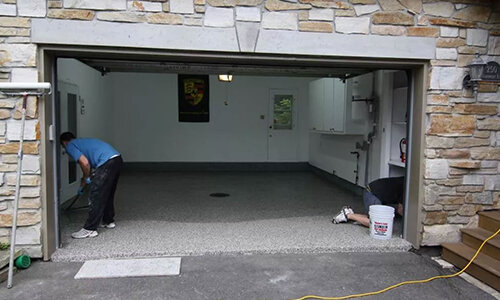
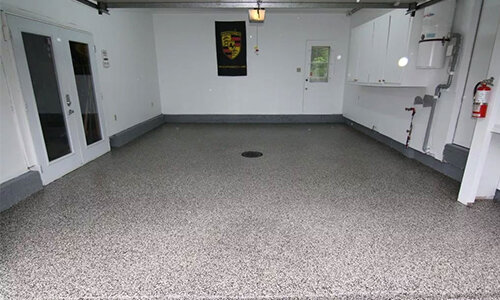
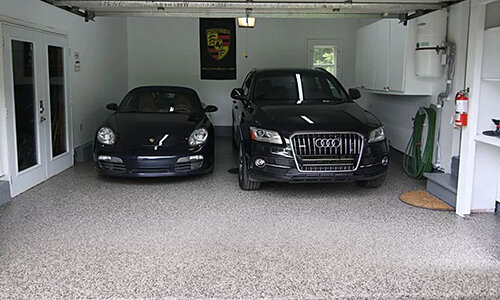
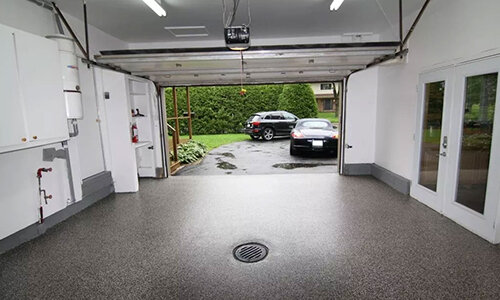
You can get many things done in just one day, but normally refinishing concrete isn't completed that fast. At Zone Garage, most of our refinishing methods can be installed in just one day, or take at least another, for the process, from preparation until it's cured! Imagine using your brand new refinished garage, patio, porch or commercial space just the next day.

 
^Photo Jun 05, 11 28 50 AM web.jpg
 

Step 1

A trained installation specialist will visit your property and provide a free inspection of the concrete you're interested in resurfacing. We'll then moisture test the area to make sure the product will successfully adhere when installed. If the desired location is too high in moisture, a representative from Zone Garage will review the moisture abatement process to ensure a proper coating installation.

STEP 2

An installation specialist will arrive on your installation day to prepare the floor. First, they repair any cracks that could negatively impact adhesion and/or the appearance. Next our team will diamond grind the area with our state-of-the-art industry-leading grinder. This process opens up millions of tiny surface pores, allowing the coating to bond effectively. After diamond grinding, we use an angle grinder to ensure the cracks and joints are prepared for the coating. Finally, the floor is vacuumed with HEPA filtration to remove dust particles effectively and ensure the best mechanical bond with the concrete.

STEP 3

We apply our two-part ZG basecoat that's blended with the appropriate tint to the stem walls with a 4 inch roller and to the floor using an 18 inch ⅜” nap roller. A second technician will follow closely behind applying your selected decorative chip to the basecoat.


STEP 4

A second installation technician wears special spiked shoes to walk on the wet floor and broadcast decorative chips into the basecoat. The decorative chips are broadcast to rejection. Special designs and/or patterns can be achieved and should be discussed during Step 1.

STEP 5

After the base coat has fully cured, locking the decorative chip securely on the floor, a specialist will scrape the chips to a smooth finish, and a two-part polyaspartic topcoat is applied. The topcoat is applied utilizing a magic trowel to achieve the desired thickness. A second technician will follow closely behind the magic trowel to backroll the material to evenly distribute it. The result is a shiny, water-resistant, oil and grease resistant and easy to clean surface that's also attractive.

STEP 6

Appreciate your new, beautiful, well-protected and durable floor from the professionals at Zone Garage.   Your Zone Garage technician will provide you with a care sheet with detailed instructions on how to maintain your new floor.


Step 1

A trained installation specialist will visit your property and provide a free inspection of the concrete you're interested in resurfacing. We'll then moisture test the area to make sure the product will successfully adhere when installed. If the desired location is too high in moisture, a representative from Zone Garage will review the moisture abatement process to ensure a proper coating installation.

STEP 2

An installation specialist will arrive on your installation day to prepare the floor. First, they repair any cracks that could negatively impact adhesion and/or the appearance. Next our team will diamond grind the area with our state-of-the-art industry-leading grinder. This process opens up millions of tiny surface pores, allowing the coating to bond effectively. After diamond grinding, we use an angle grinder to ensure the cracks and joints are prepared for the coating. Finally, the floor is vacuumed with HEPA filtration to remove dust particles effectively and ensure the best mechanical bond with the concrete.


STEP 3

We apply our two-part ZG basecoat that's blended with the appropriate tint to the stem walls with a 4 inch roller and to the floor using an 18 inch ⅜” nap roller. A second technician will follow closely behind applying your selected decorative chip to the basecoat.

STEP 4

A second installation technician wears special spiked shoes to walk on the wet floor and broadcast decorative chips into the basecoat. The decorative chips are broadcast to rejection. Special designs and/or patterns can be achieved and should be discussed during Step 1.


STEP 5

After the base coat has fully cured, locking the decorative chip securely on the floor, a specialist will scrape the chips to a smooth finish, and a two-part polyaspartic topcoat is applied. The topcoat is applied utilizing a magic trowel to achieve the desired thickness. A second technician will follow closely behind the magic trowel to backroll the material to evenly distribute it. The result is a shiny, water-resistant, oil and grease resistant and easy to clean surface that's also attractive.

STEP 6

Appreciate your new, beautiful, well-protected and durable floor from the professionals at Zone Garage. Your Zone Garage technician will provide you with a care sheet with detailed instructions on how to maintain your new floor.


^Photo Aug 02, 7 17 30 PM web.jpg

LET'S BEGIN
YOUR NEXT PROJECT

Let's get started today! Our friendly staff is eager to answer any questions you might have!